Mixed media stamp
Hello friends,
It's Sweety here, creative designer with Craftyscrappers. Craftyscrappers strives to bring you amazing and innovative stamps, and mid July release was no different. When I set my eyes on "Grunge gears" stamp set, I knew I had to have it! It's a background stamp, available in multiple sizes. I received mine in 4X4 inches.
This is an artwork in itself and so many details on this stamp set make your life so easy. All you need to do is stamp it on a beautiful background and you are done with a card. But how I can I make it so easy? I made 10 cards using this stamp set.
Card 1:
I began with the white premium cardstock by Craftyscrappers. This is a smooth paper and provides a great surface for mixing colours. I cut it into 4X4 piece to fit the whole design of my stamp.

I then used Versamark over the stamp and laid my paper onto it rather than bringing the stamp to the paper. This way, I can press using a brayer and get a uniform stamping. I gold embossed the image.

I then sprayed Shimmer spray in 3 colours. You can see the names in the pic. These dye based inks are very vibrant.

But the grunge gears needed grunge background colours. So, I lifted some of the colours off the paper using a baby wipe. I also wiped the wet wipe across to get a smooth coverage of colours.


Card 2:
Now card 2 has a more rustic feel to it. Almost always, I have found emboss resist difficult as the colours do not remain vibrant. So, I decided to make the background first and then stamp over it.

I used sweet pumpkin and spicy walnut to get a grungy look. These shimmer sprays shine so subtly and give everything a finished look. I sprayed the panel as shown below, with water to get the colours moving. This also toned the colours down a bit, and make it perfectly pastel.

This is how it looks once dry. The paper burnt a little because I was in a hurry to get it dry. But thats ok. I sprayed just a little green and it became perfectly rustic.

This is when I decided to stamp using the same paper to stamp technique as in the 1st card.

Here's how the finished card looks:

Card 3:
By now, I wanted something more vibrant. So, I sprayed a piece of white cardstock with blue and green shimmer paints. I let it dry naturally. So, the colours stayed vibrant.

I now twisted a gold wire just as that in the stamped bulb. Such wires are easily available for flower making.


It is vibrant and look how well it goes with the background created using the same stamp set with distress oxide inks.

Card 4:
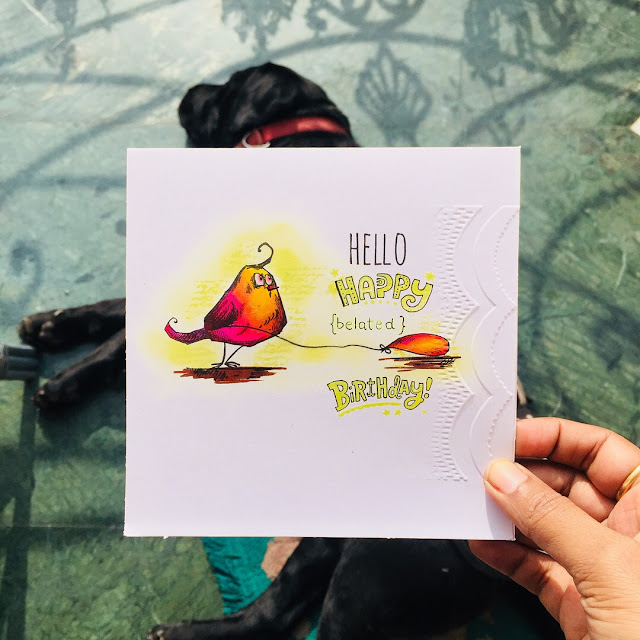
For this one, I simply stamped the image on a craft cardstock and coloured the images with white and green Staedler watercolour pencils.

I then added details such as metal brads and eyelets. Notice how the green glitter paper peeks through the eyelets.

Card 5:
Another great way to use the stamp set is using it with gold embossing powder on a black sheet of paper. It brings out all the metallic details so well. I then mounted this upon a gold foil for a contrast.

I hope you like how these cards turned out.
Thanks for stopping by.
Sweety.
It's Sweety here, creative designer with Craftyscrappers. Craftyscrappers strives to bring you amazing and innovative stamps, and mid July release was no different. When I set my eyes on "Grunge gears" stamp set, I knew I had to have it! It's a background stamp, available in multiple sizes. I received mine in 4X4 inches.
This is an artwork in itself and so many details on this stamp set make your life so easy. All you need to do is stamp it on a beautiful background and you are done with a card. But how I can I make it so easy? I made 10 cards using this stamp set.
Card 1:
I began with the white premium cardstock by Craftyscrappers. This is a smooth paper and provides a great surface for mixing colours. I cut it into 4X4 piece to fit the whole design of my stamp.

I then used Versamark over the stamp and laid my paper onto it rather than bringing the stamp to the paper. This way, I can press using a brayer and get a uniform stamping. I gold embossed the image.

I then sprayed Shimmer spray in 3 colours. You can see the names in the pic. These dye based inks are very vibrant.

But the grunge gears needed grunge background colours. So, I lifted some of the colours off the paper using a baby wipe. I also wiped the wet wipe across to get a smooth coverage of colours.

Here's how the finished card looks after I wiped the mud colours with a baby wipe to get a smooth look.

Card 2:
Now card 2 has a more rustic feel to it. Almost always, I have found emboss resist difficult as the colours do not remain vibrant. So, I decided to make the background first and then stamp over it.

I used sweet pumpkin and spicy walnut to get a grungy look. These shimmer sprays shine so subtly and give everything a finished look. I sprayed the panel as shown below, with water to get the colours moving. This also toned the colours down a bit, and make it perfectly pastel.
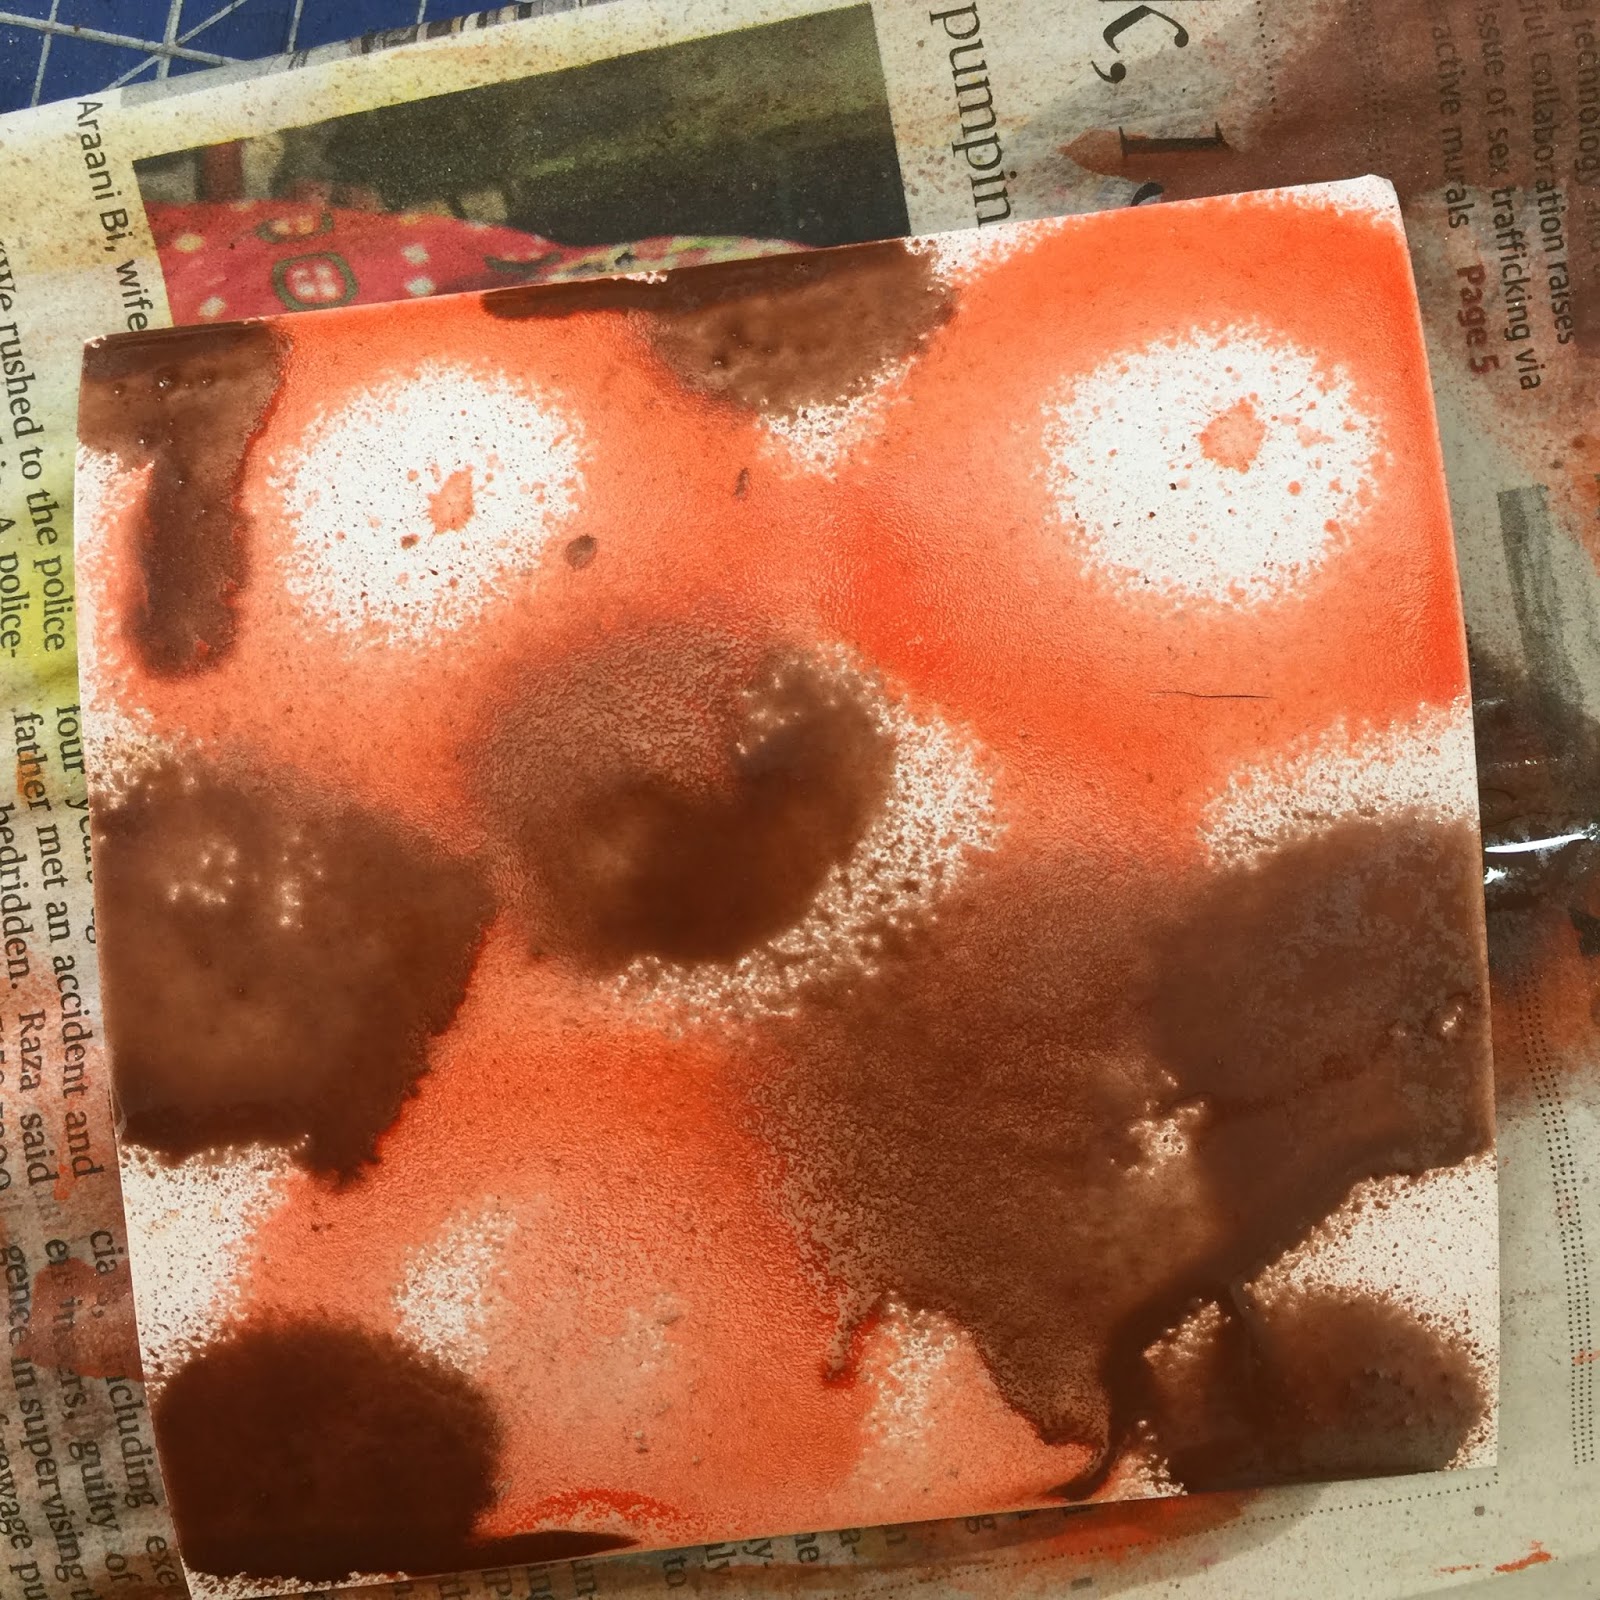
This is how it looks once dry. The paper burnt a little because I was in a hurry to get it dry. But thats ok. I sprayed just a little green and it became perfectly rustic.

This is when I decided to stamp using the same paper to stamp technique as in the 1st card.

Here's how the finished card looks:

Card 3:
By now, I wanted something more vibrant. So, I sprayed a piece of white cardstock with blue and green shimmer paints. I let it dry naturally. So, the colours stayed vibrant.

I now twisted a gold wire just as that in the stamped bulb. Such wires are easily available for flower making.

I think this my favourite of all cards:

It is vibrant and look how well it goes with the background created using the same stamp set with distress oxide inks.

Card 4:
For this one, I simply stamped the image on a craft cardstock and coloured the images with white and green Staedler watercolour pencils.

I then added details such as metal brads and eyelets. Notice how the green glitter paper peeks through the eyelets.

Card 5:
Another great way to use the stamp set is using it with gold embossing powder on a black sheet of paper. It brings out all the metallic details so well. I then mounted this upon a gold foil for a contrast.

I hope you like how these cards turned out.
Thanks for stopping by.
Sweety.

Comments
Post a Comment