Creating seasons with stencil ft. Craftyscrappers
Hello everyone,
I hope you are having a great day. Today's cards feature a beautiful and versatile stencil by Craftscrappers "Rainy Day". Though it's called rainy day, this stencil can easily create a winter night sky, a sunny sky and a spring rainbow, along with the rainy scene. So, I decided to merge all 4 in one card. Here's how:
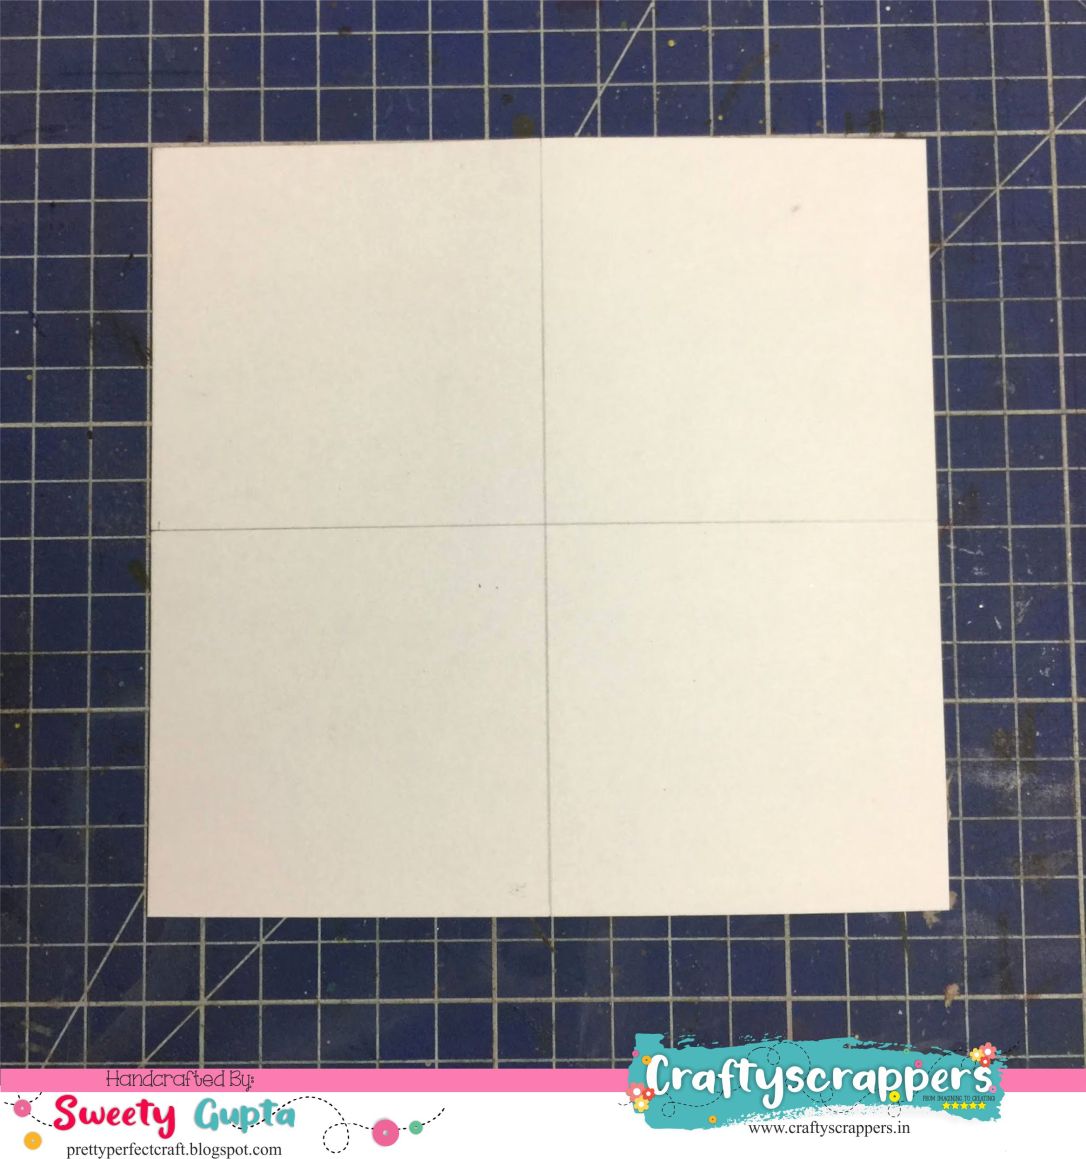
Step 1: I took a square card stock and drew 2 lines to make 4 sections as shown:
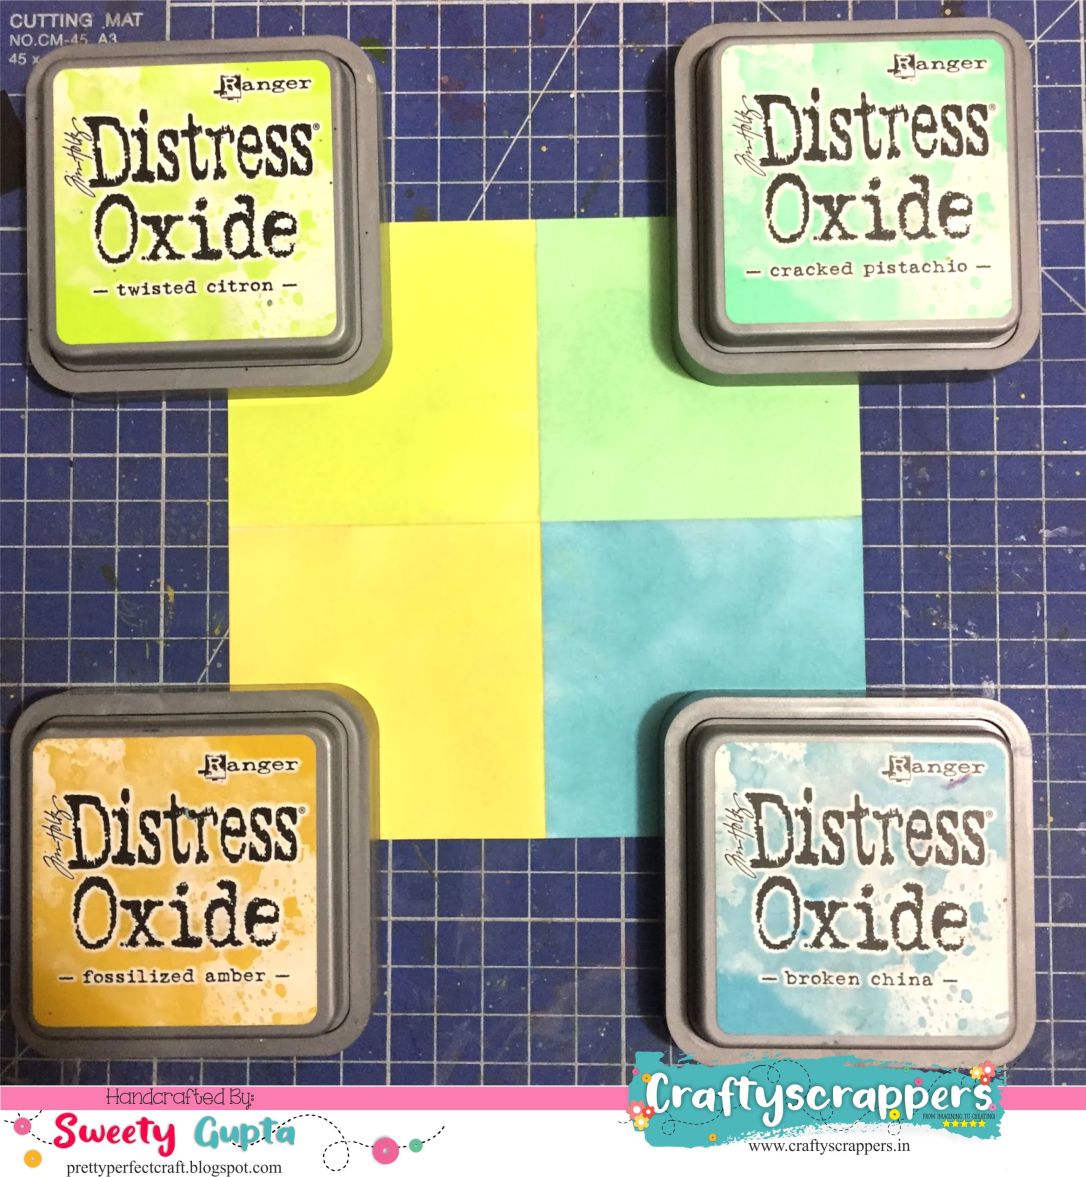
Step 2: I then coloured each box with a different color of Distress oxide- Twisted citron/Cracked pistachio/Broken China/Fossilised amber.
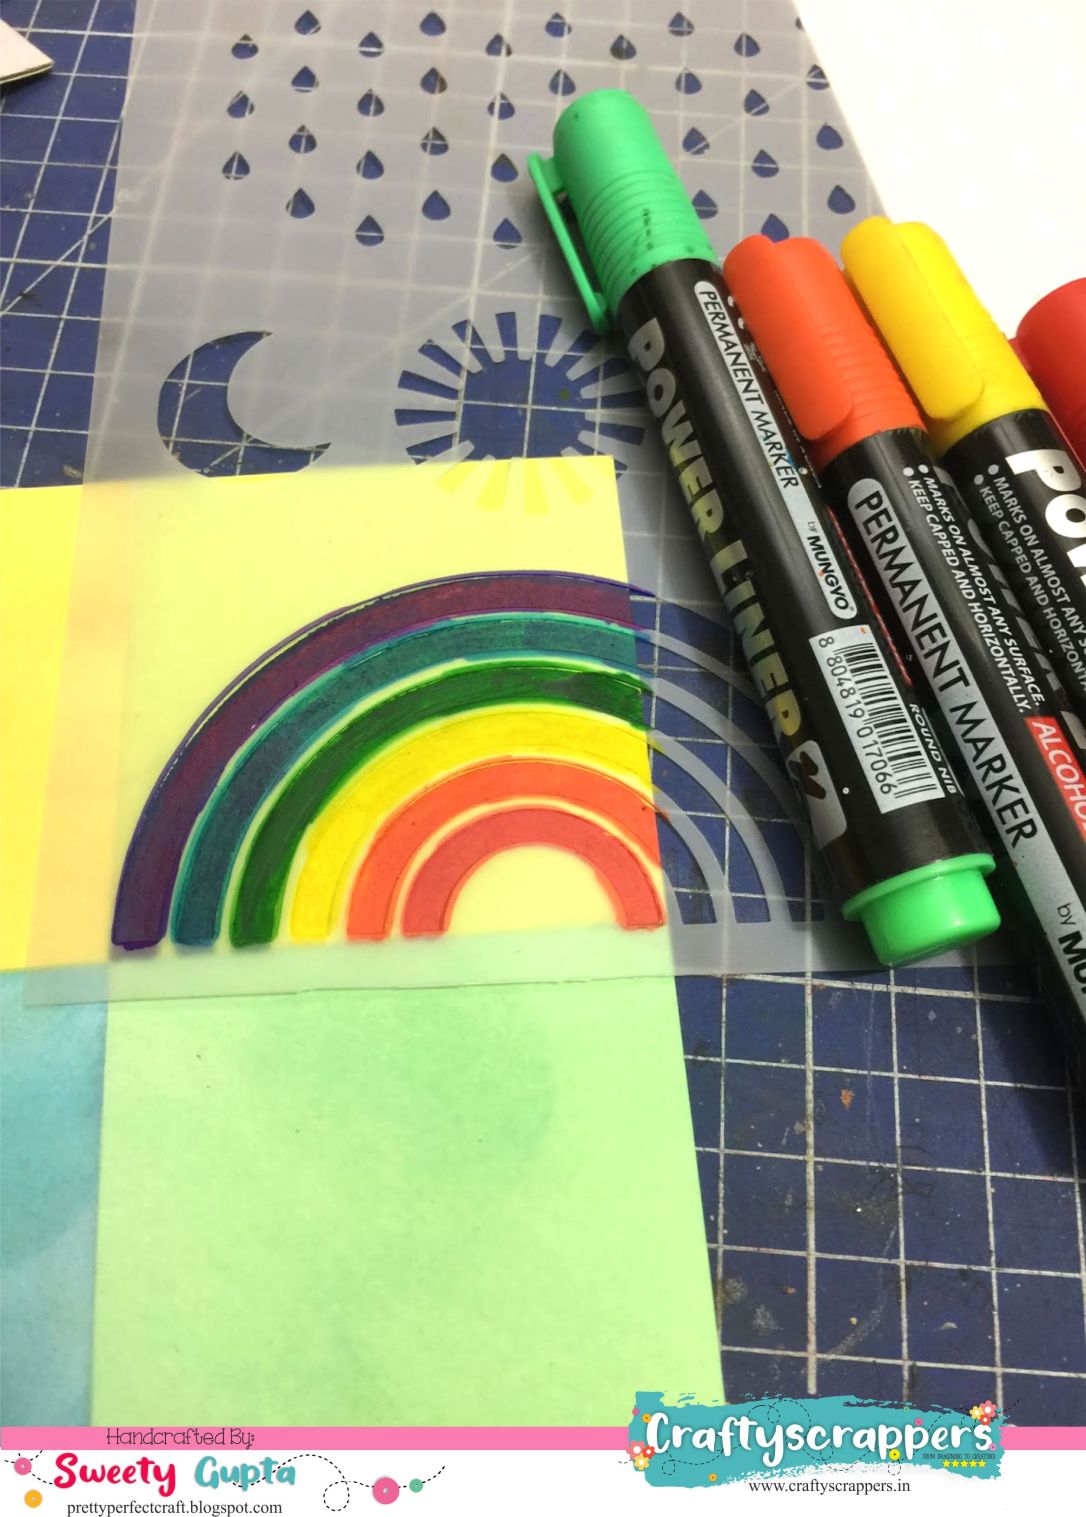
Step 3: I then used the stencil to create rainbow using permanent alcohol markers in the greenish box. These Mungyo markers have a solid tip, so the ink does not seep under the stencil and gives a finished look.
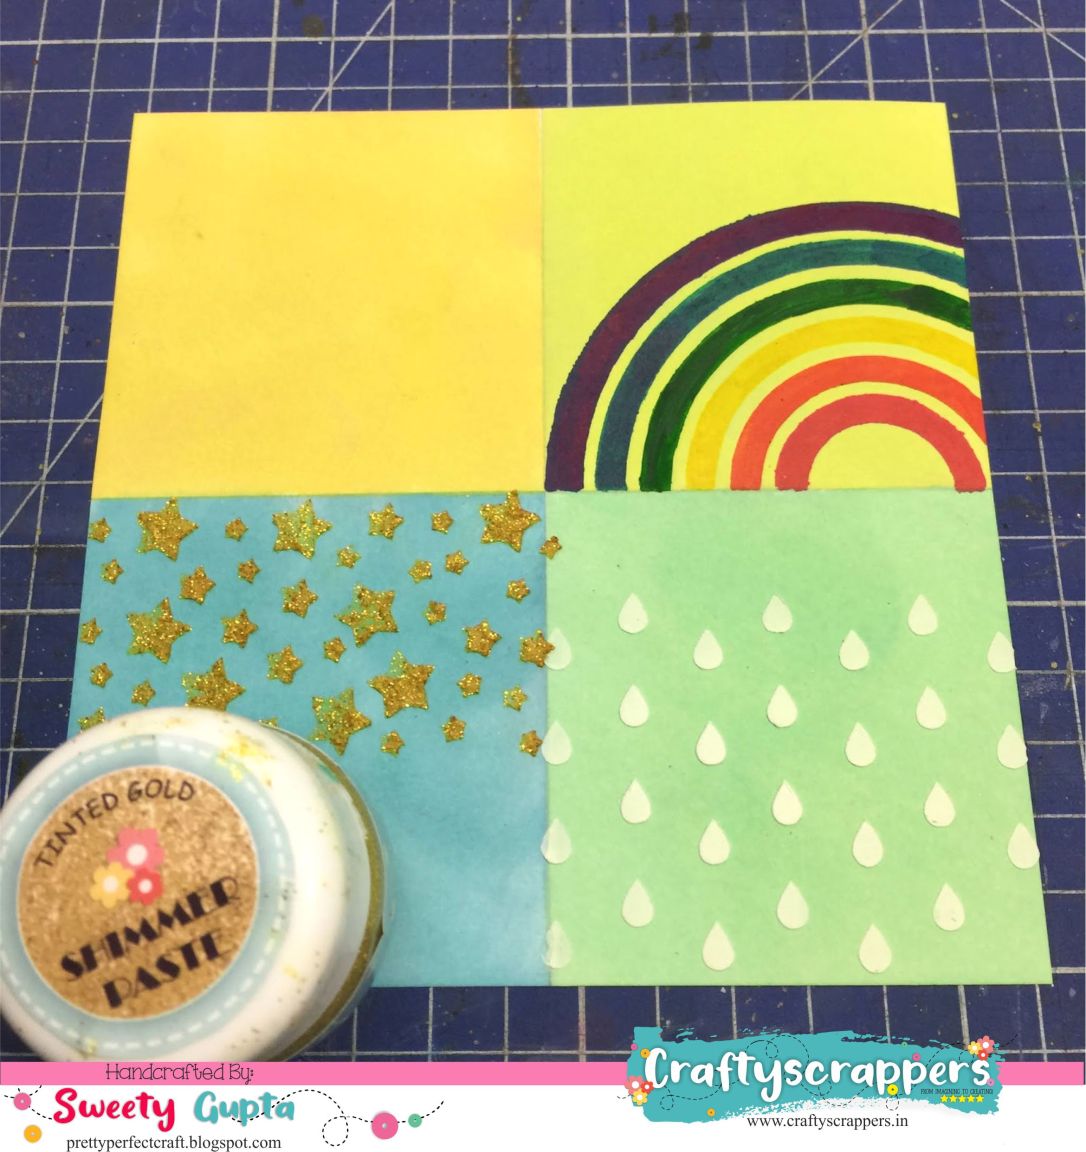
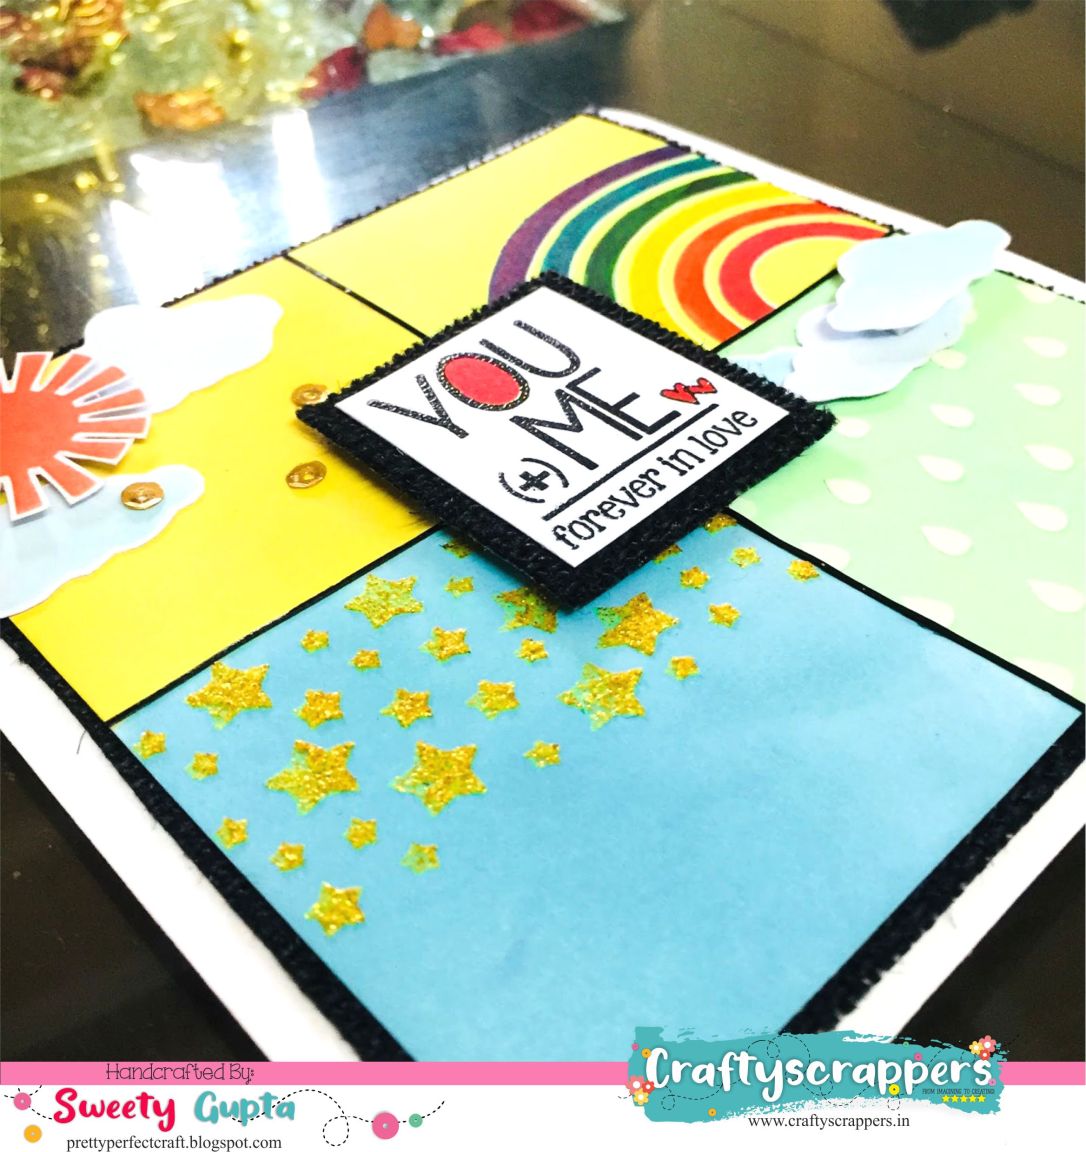
Step 4: Now I used the stencil again to create night sky with gold shimmer paste on the blue box and rainy sky with modelling paste on the pista coloured box.
Step 5: I stamped and heat embossed the sentiment that suited my background. This is from "You n me" stamp set by Craftyscrappers.
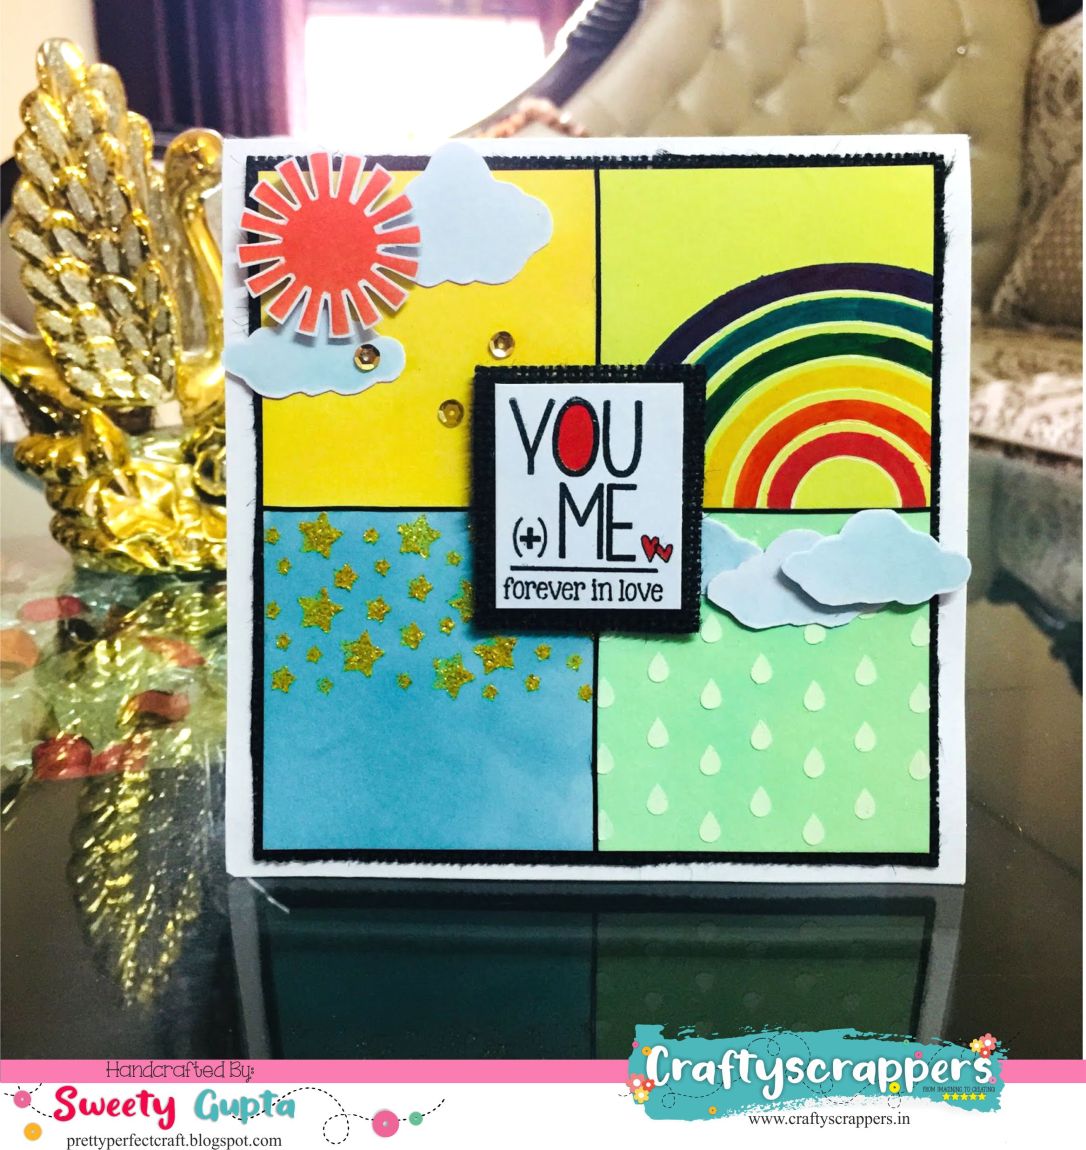
The sun and clouds were also created using the stencil. Don't they look like stickers? I matted every panel on a black burlap, and then stick them using foam adhesive.
I hope you are having a great day. Today's cards feature a beautiful and versatile stencil by Craftscrappers "Rainy Day". Though it's called rainy day, this stencil can easily create a winter night sky, a sunny sky and a spring rainbow, along with the rainy scene. So, I decided to merge all 4 in one card. Here's how:
Step 1: I took a square card stock and drew 2 lines to make 4 sections as shown:
Step 2: I then coloured each box with a different color of Distress oxide- Twisted citron/Cracked pistachio/Broken China/Fossilised amber.
Step 3: I then used the stencil to create rainbow using permanent alcohol markers in the greenish box. These Mungyo markers have a solid tip, so the ink does not seep under the stencil and gives a finished look.
Step 4: Now I used the stencil again to create night sky with gold shimmer paste on the blue box and rainy sky with modelling paste on the pista coloured box.
Step 5: I stamped and heat embossed the sentiment that suited my background. This is from "You n me" stamp set by Craftyscrappers.
The sun and clouds were also created using the stencil. Don't they look like stickers? I matted every panel on a black burlap, and then stick them using foam adhesive.
I hope you like how this card turned out.
Thanks for stopping by.
Hugs,
Sweety.

Comments
Post a Comment